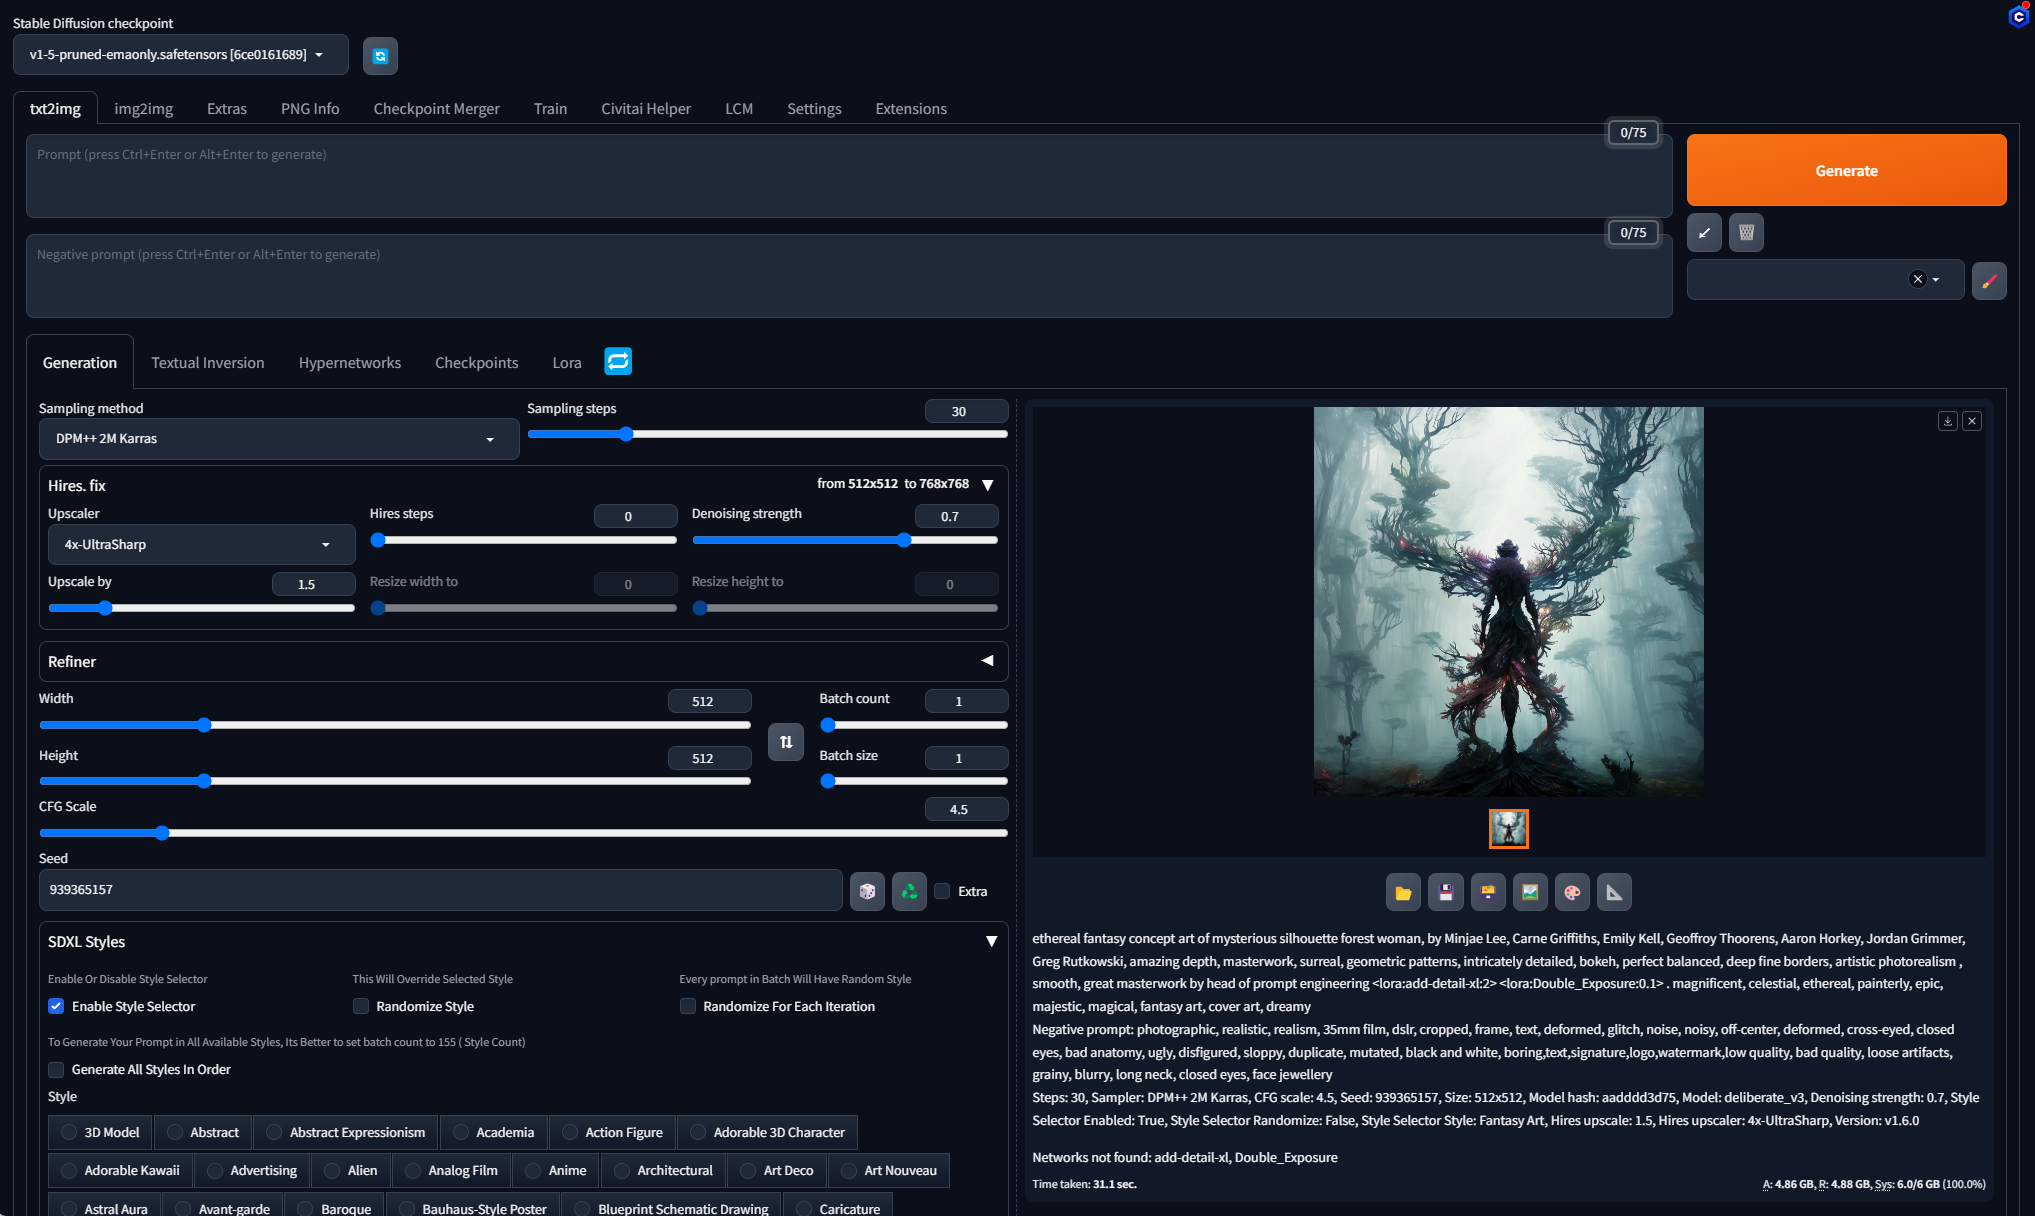
Stable Diffusion WebUI (“Automatic1111” or simply “A1111”) is a user-friendly (relatively speaking) interface that allows you to generate stunning images using the power of Stable Diffusion, an advanced AI art generator. If you have a Windows 10/11 PC, you can install and run Stable Diffusion WebUI locally to create your own masterpieces. Please note this requires some level of Windows and Python knowledge, so if you are a casual PC user, be prepared to spend several hours researching various topics during installation and initial usage.
Prerequisites
Before you begin, ensure that your computer meets the following minimum requirements:
- Windows 10/11
While it is recommended to run A1111 with an NVIDIA GPU with at least 8GB of video memory, we’ve successfully tested on an RTX 2060 with 6GB of VRAM.
- Python 3.10.6 (Avoid using Python 3.11 or newer – this is critical, so do not download Python from the Windows store)
- Git
- Approximately 100GB of free disk space
Installation Steps
1. Install Python:
- Download and install Python 3.10.6 from the official Python website.
- During installation, be sure to tick the “Add Python to your system’s PATH environment variable” option.
2. Install Git:
- Download and install Git from the official Git website.
- Add Git to your system’s PATH environment variable.
3. Clone the Stable Diffusion WebUI Repository:
- Open a command prompt or terminal window.
- Navigate to a directory where you want to install Stable Diffusion WebUI.
- Use the following command to clone the repository (alternatively, download the zip package sd.webui.zip from the official Github page and extract)
git clone https://github.com/AUTOMATIC1111/stable-diffusion-webui.git
4. Create a Virtual Environment (you may have, or will later end up with, multiple versions of Python or other dependencies installed on your PC. Creating and activating the virtual environment helps you avoid version conflicts and are key to avoid spending hours interpreting errors messages later on), :
- Create a virtual environment using Python’s venv module.
python -m venv venv
- The above creates a venv folder. Go into the venv/scripts folder and activate the virtual environment.
activate
5. Install Dependencies:
- Install the required dependencies using the following command:
pip install -r requirements.txt
6. Download Stable Diffusion Model Files:
- Download the Stable Diffusion model files from CivitAI or Hugging Face
- Extract the model files to a directory named models within the stable-diffusion-webui folder.
7. Update and Run Stable Diffusion WebUI from the sdwebui folder:
- Update the WebUI using the following command:
update.bat
8. Deactivate the virtual environment
deactivate
Access the WebUI:
1. Run the WebUI using the following command:
run.bat
2. Either hold down Ctrl and click the URL http://127.0.0.1:7860 that should be displayed in the cmd window, or simply open a web browser and navigate to http://localhost:7860.
Troubleshooting
If you encounter any issues during installation, refer to the Github Stable Diffusion WebUI documentation, comm

